It has been a long term need to have a bit more freedom with developing reports for the Dynamics 365 (ex Dynamics CRM) cloud, since we could only use the FetchXML query language, within the SSRS reports, which has its limitations in terms of table joining, aggregation of fields, 5 records per query and several others.
Additionally, the complexity of connecting the SSRS SQL Data Tools to the online Dynamics instances, was simply put, not the most pleasant experience for a one to setup, having a tech background or not. Even today, in order to develop SSRS reports for the latest cloud Dynamics version (v9.x) one would need to use SQL Data Tools 2013 (or try 2012 or 2015 if you feel lucky). In times when we have the Dynamics 365 cloud, Power Platform and Power Automate trend, something had to be done to improve this. Power BI greatly improved the Dynamics reporting options, but it was still not a replacement for SSRS.
To overcome these frustrations Microsoft has release a new reporting tool, called Power BI Paginated reports, and has enabled direct database access to the Dynamics 365 Cloud. Well, more like indirect access since, the access database is a copy of the cloud one, and at this moment is still in preview mode for testing only.
This blog post explains how to configure a reporting dev environment using Power BI Paginated reports, and how to connect directly to a the the Dynamics 365 cloud database
1. Download the Power BI Reports Builder and Install it
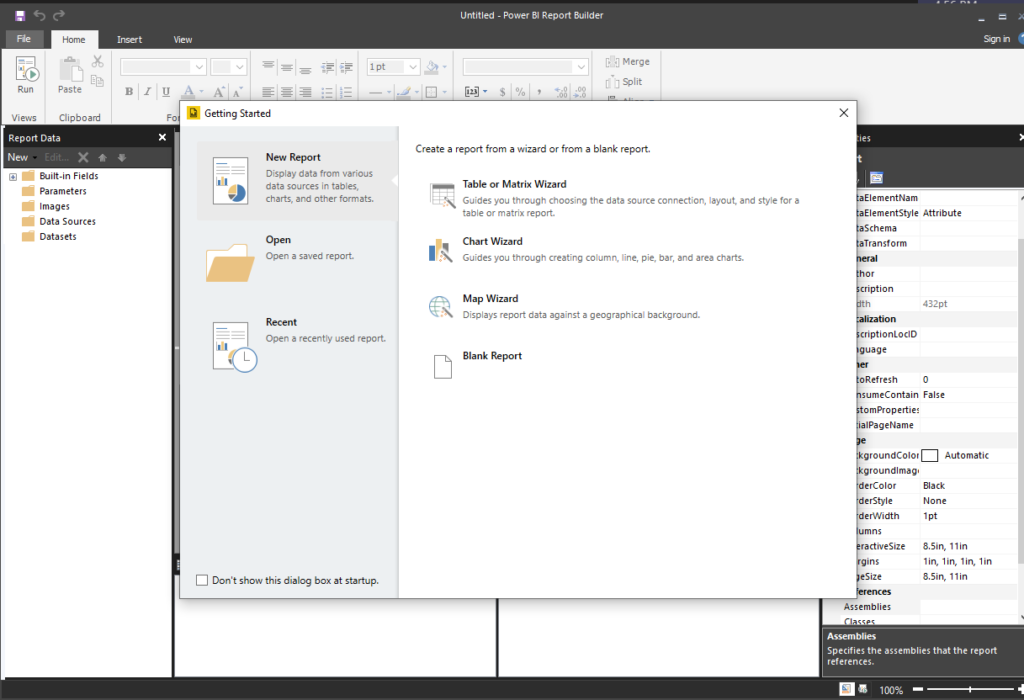
2. Start the Power Bi Report Builder and select a
New Report->Blank Report

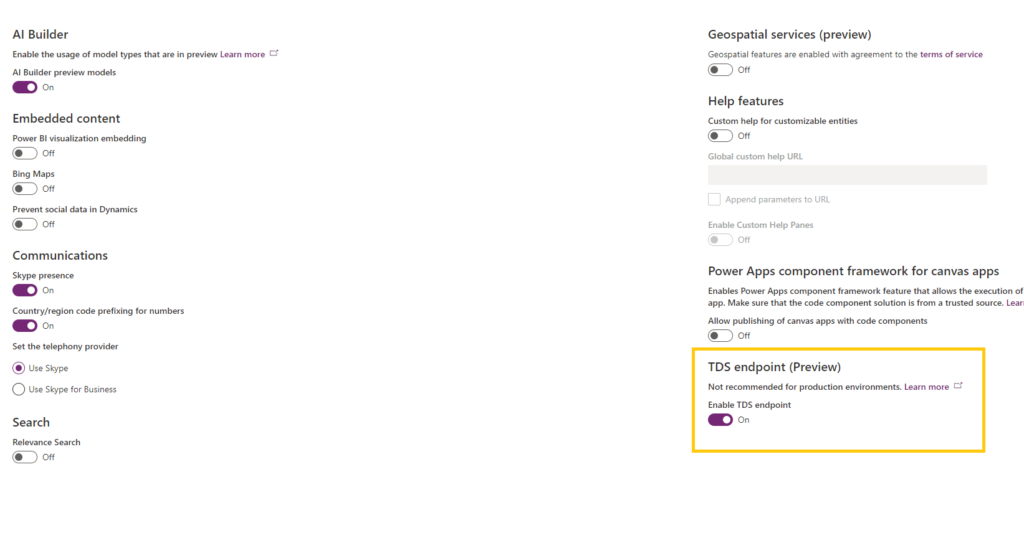
3. Enable the TDS for the Organization, before we adding the the report we need to verify that the Common Data Service (Data Multiverse) is enabled for TDS. This is still in preview mode, at this moment and my be subject to change.
Open the Power platform admin portal
and navigate to the organization you would like to use, then select :
Settings -> Product -> Features

Enable the TDS Endpoint

More information on this feature on this link.
4. Add the DataSource in the Power Bi Report Builder report.
Connection type: Azure SQL Database
Server name: {ORGANIZATION_NAME}.crm.dynamics.com ,5558
Authentication Type: Azure AD

Enter your Azure AD username, and hit test connection. Login with your Azure AD user if provided with the login screen.
If you get an error like the below one. Make sure the TDS stream is enabled and you have access to the organization.

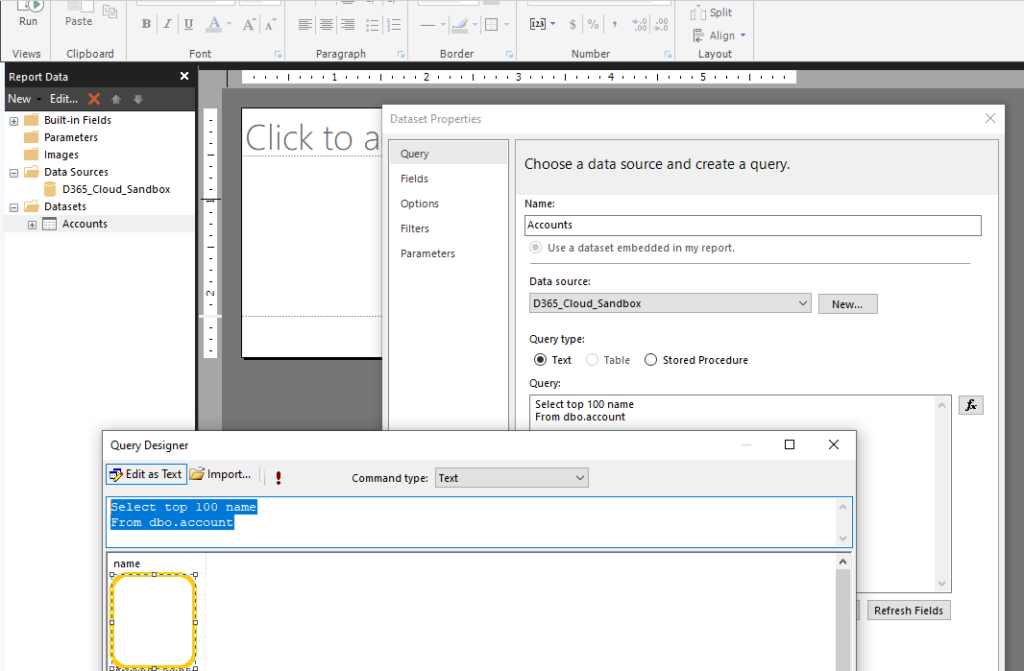
5. Add a new Dataset, select new Data source and type in the query. Open the query designer to see the results.

If you are interested in just querying and exporting data, the same thing can be achieved using SQL Management studio.
Enjoy the latest and greatest type of querying the Dynamics database!
Here are some useful links that helped me set this up:
Tabular Data Stream (TDS) Protocol endpoint for Common Data Service (CDS)
